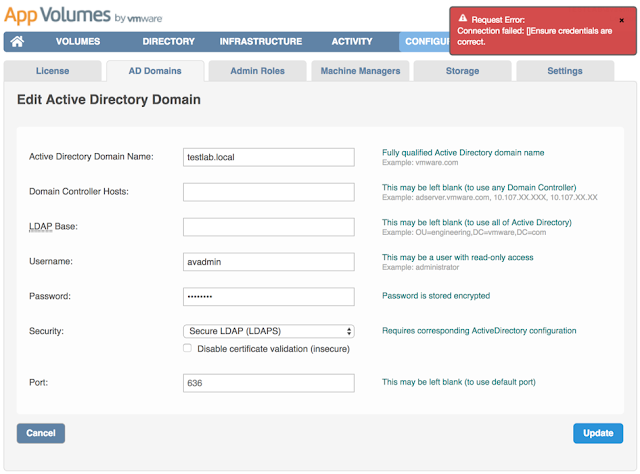
You can secure your connection between App Volumes and Active Directory by using Secure LDAP (LDAPS) with the default network service port 636. Follow below steps to secure it.
Firstly, if your try to authenticate the Active Directory using LDAPS, App Volumes will prompt an error. Therefore we need to replace it with a trusted certificate.
Stop the App Volumes Manager service.
And your App Volumes Manager is connected to your Active Directory using Secure LDAP!
Firstly, if your try to authenticate the Active Directory using LDAPS, App Volumes will prompt an error. Therefore we need to replace it with a trusted certificate.
Stop the App Volumes Manager service.
Open MMC > Certificates > Computer Account.
Export the Microsoft CA Domain Controller certificate.
Select DER encoded binary x.509 (.CER)
Save it as adCA.cer
Use OpenSSL to export the PEM file from this CA Root Certificate. Launch OpenSSL using elevated administrative command prompt and run the following command to extract the PEM file format from the CA certificate.
openssl x.509 -inform der -in [location of adCA.cer] -out
Copy and paste the PEM file into the App Volumes directory. Make sure the pem file name is "adCA" !
C:\Program Files (x86)\CloudVolumes\Manager\config
Start up the App Volumes Manager services.
Log in to App Volumes Manager > Configuration > AD Domains and reconfigure it by using Secure LDAP (LDAPS)
And your App Volumes Manager is connected to your Active Directory using Secure LDAP!
Don't forget to copy the adCA.pem file to the same directory of your other app volumes manager nodes.


Comments
Post a Comment